Creating videos for documentation
Sibylle Nägle, CC BY-SA 4.0
Creating screencasts, for example for documentation, is easy with these three powerful open-source tools: OBS, Kdenlive and ImageMagick, which all run on Linux, MacOs and Windows respectively.
After downloading and installing all three, (https://obsproject.com, https://kdenlive.org and https://imagemagick.org) you are good to go. Let’s start with creating the screencasts.
Creating screencasts with OBS
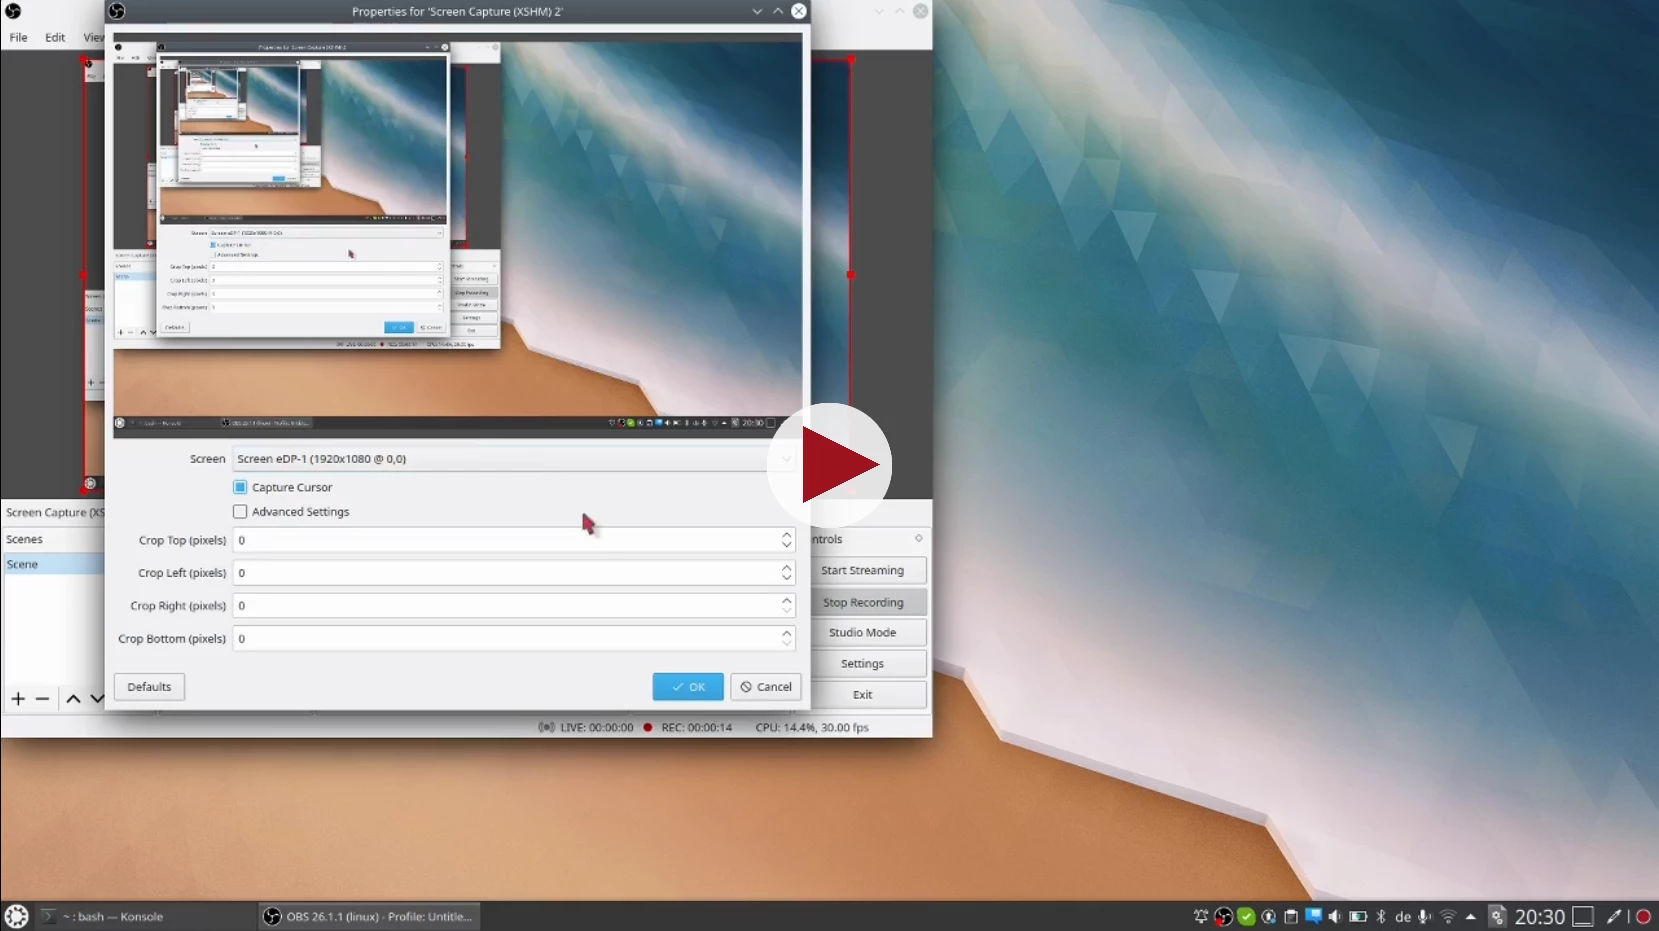
After installing and starting it you can decide which input you want to use in the sources- Window:

For screencasts, it would be Screen Capture (XSHM) to cover the whole screen or Window Capture (Xcomposite) to cover just one application window. To make your life easier, a very useful thing to do is to create shortcuts for starting and stopping. This can be done in File->Settings->Hotkeys. I used Alt + R for recording and Alt + S for stopping as this are shortcuts which are not used in any other program. What’s nice is, is that you don’t have to put in the actual letters into the input fields, just use the string combination and OBS will write it down for you.
Now, you can set up the screen to your liking, press Alt + R and OBS will start recording - until you press Alt + S that is. By default, movies are stored as mkv-files in your home directory and given the current date as a title.
Create a movie with Kdenlive
Importing the file, getting rid of the audio part
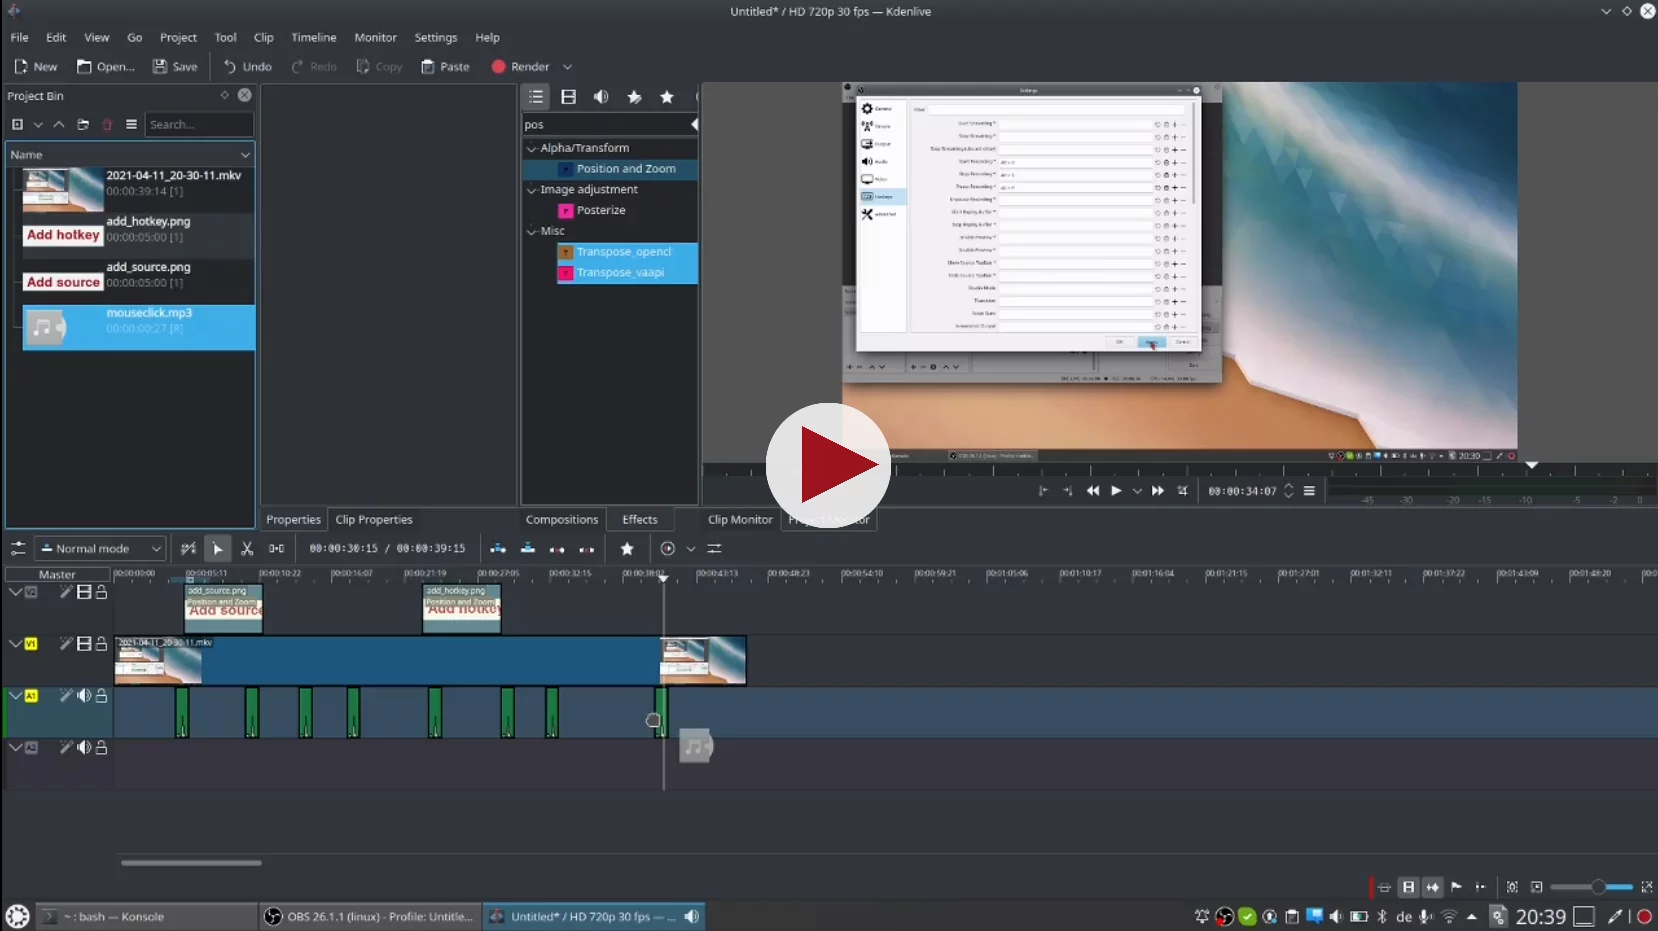
After installing and starting, the most important thing is to import your OBS screencast. You can do that in the upper left window Project Bin by clicking your right mouse-key and choosing Add Clip or Folder. The file is importet into Kdenlive and shown in the preview window on the upper right corner. To actually use the clip, you have to drag it into the lanes on the bottom of the screen. If you want to get rid of the audio of the OBS-file, you can right-click on the movie’s thumbnail and choose ungroup, then delete the audio part.
Adjusting screen section
In case you chose the whole screen, you might not want the complete view in your final movie, so you have to adjust the size of it. That is done with effects. In the search-input of the effects, you can write position, drag it onto your video thumbnail. If you now double-click the thumbnail you see options shown which you can adjust.
Creating labels with ImageMagick
You might want to include labels into your movie to clarify certain things. This can be done with Kdenlive itself, with right-clicking into the Project Bin window on the top left corner and choosing Add Title Clip, but this is not as pretty in the end. A nicer option is to employ ImageMagick, write a little script, and use this script to create the label in milliseconds.
ImageMagick is scriptable, and you could use a script like the following and save it under createText.sh.
#!/bin/bash
# Create text labels with imagemagick

# change to lowercase letters
label="$( echo $1 | tr '[:upper:]' '[:lower:]')"

# replace whitespaces and newlines
label="$( echo $label | sed s/\ /_/g | sed 's/\\n/_/')";

# replace umlauts and special characters
label="$( echo $label | sed 's/ü/ue/g;s/ä/ae/g;s/ö/oe/g;s/ß/ss/g;s/(//g;s/)//g;s/\///g' )"

# create label
convert -background none \
        -fill '#9E131E' \
        -font NimbusSans-Bold \
        -pointsize 32 \
        -trim +repage \
        -bordercolor '#ffffffee' -border 10 \
        label:"$1" $label.png
After doing chmod +x createText.sh you can create a new label, simply by typing ./createText.sh "Import OBS-file\ninto Kdenlive" and it looks like this:
 Label, created with ImageMagick
Adding the labels to the movie
Now, you can add the new label by right-clicking the Project Bin window on the top left corner, clicking on Add Clip or Folder and choosing the label file. You can drag it to the section of the movie where it should be shown. It will be too big, though. Therefore, search for Position and Zoom again in the effects-window, drag the effect on the label-thumbnail in the lower lanes, double-click on the thumbnail and adjust the size and position of the label.
Adding a mouseclick sound
It is a good idea to add some sound to your movie as it makes it more lively. You can either download a sound of a mouse click online, or you record it yourself, import it into another Kdenlive-session, cut it out and render it. How it is rendered is explained in the next chapter.
Rendering your movie into a mp4-file
You most likely want to export your movie into a mp4-file. When you are done arranging everything, you click on Render. In the opening window, you choose MP4 - the dominating format (H264/AAC) and specify a preferred folder and filename. When you now click on Render to file you have successfully created your own movie.
Screencasts
 Screencast: how to use OBS
 Screencast: how to use Kdenlive
